Unlock Irresistible Sweetness: The Quick & Easy No-Thermometer Caramel Icing Glaze
Imagine a world where the rich, buttery indulgence of homemade caramel is just minutes away, without the fuss of candy thermometers or complicated techniques. Welcome to that world! This incredibly simple, no-thermometer caramel icing glaze is designed to elevate your desserts from ordinary to extraordinary with minimal effort. Whether you're topping a humble cake, drizzling over warm donuts, or enhancing your favorite ice cream, this sticky, sweet, and utterly delightful glaze will become your new secret weapon in the kitchen.
Forget the fear of burnt sugar or crystalline failures. Our recipe focuses on accessible ingredients and a straightforward process that guarantees a perfectly smooth, deeply flavored, and undeniably delicious caramel glaze every single time. Get ready to transform your baking with a glaze that's as impressive as it is easy!
Why This No-Fuss Caramel Icing Glaze Will Be Your New Go-To
In a world of complex recipes, sometimes simplicity truly shines. This particular caramel icing glaze stands out for several compelling reasons, making it a staple in any baker's repertoire:
- Effortless Elegance: No Thermometer Required! The biggest hurdle for many home cooks when making caramel is the precise temperature monitoring. This recipe brilliantly bypasses that need, relying on visual cues and timed cooking to achieve perfection. It's a game-changer for beginners and seasoned bakers alike, offering stress-free caramel making.
- Unparalleled Richness & Depth of Flavor: Unlike some thinner glazes, this one is profoundly buttery and boasts a deep caramel character. The secret lies in the generous use of brown sugar, which, when combined with butter, develops a complex, molasses-infused sweetness that granulated sugar alone simply can't match. It’s truly an old-fashioned caramel taste, reminiscent of grandma's kitchen.
- Incredible Versatility: What can't this glaze do? It's a superstar on virtually any dessert. Imagine it cascading over a warm apple pie, soaking into a freshly baked bundt cake, or adding a luxurious touch to your morning muffins. It's also fantastic drizzled over vanilla ice cream, swirled into yogurt, or even as a dip for fruit. For more ideas on how this simple Easy Caramel Glaze: 4 Ingredients for Perfect Dessert Topping can transform your baking, explore our extensive guide.
- Quick & Convenient: With just four core ingredients and a handful of steps, you can whip up this glaze in under 15 minutes. It's the perfect solution when you need to elevate a dessert last minute or simply crave that rich caramel flavor without spending hours in the kitchen.
The Magic Behind the Four Simple Ingredients
The beauty of this rich caramel icing glaze lies in its straightforward ingredient list, each playing a crucial role in creating that luscious texture and profound flavor. Quality ingredients, even in their simplicity, make all the difference.
Butter: The Foundation of Flavor and Silky Texture
Quantity: 1 ½ sticks (¾ cup) Why it matters: Butter isn't just a fat here; it's a flavor enhancer and a texture wizard. Using unsalted butter is highly recommended as it gives you complete control over the salt content in your glaze. The butter emulsifies with the sugar and milk, creating that coveted silky-smooth finish and contributing immensely to the glaze's rich, melt-in-your-mouth quality.
Substitutions & Insights: For those seeking a dairy-free option, good quality margarine or plant-based butter substitutes designed for baking can work beautifully. Ensure you choose one that performs well in high heat to maintain the glaze's structure and consistency. Keep in mind that flavor might vary slightly, but the buttery essence can still be achieved.
Brown Sugar: The Secret to Deep Caramel Notes
Quantity: 1 cup, packed light brown sugar Why it matters: This is where the magic truly begins! Using predominantly brown sugar with just a touch of granulated sugar (often already present in brown sugar blends, or you can add a tablespoon or two if using pure light brown) imparts a superior, more complex flavor and a wonderfully deep, inviting color compared to using only white granulated sugar. The molasses content in brown sugar is responsible for those distinctive, rich caramel notes that make this glaze so irresistible.
Substitutions & Insights: While light brown sugar offers a balanced, classic caramel taste, opting for dark brown sugar will yield an even deeper, more robust molasses flavor and a darker hue. Experiment to find your preferred depth! You can also discover how to Elevate Desserts with Our Brown Sugar Caramel Icing Glaze further with our expert tips.
Milk: For Creaminess and Smoothness
Quantity: ½ cup Why it matters: Whole milk is the champion for this recipe. Its higher fat content contributes to a richer, creamier texture and helps create a stable emulsion with the butter and sugar, preventing the glaze from becoming grainy. It also slightly dilutes the sweetness, balancing the intense caramel flavor.
Substitutions & Insights: For a dairy-free version, unsweetened almond milk, soy milk, or oat milk can be excellent alternatives. Crucially, choose unsweetened varieties to maintain control over the overall sweetness of your glaze. Thicker plant milks, like oat milk, might yield a slightly richer result.
Vanilla Extract: The Enhancer
Quantity: 2 teaspoons Why it matters: Pure vanilla extract is the unsung hero that rounds out and deepens all the other flavors. It adds a layer of aromatic complexity that transforms a simple sweet glaze into something truly gourmet. Don't underestimate its power!
Substitutions & Insights: If you don't have pure vanilla extract, vanilla paste or even the seeds scraped from a fresh vanilla bean can be used for an even more intense and visually appealing vanilla presence. Avoid imitation vanilla if possible, as it lacks the nuanced flavor of pure vanilla.
Whipping Up Your Buttery Caramel Glaze: A Step-by-Step Guide
Crafting this quick caramel icing glaze is a straightforward process, but paying attention to a few key details ensures success every time. Remember, no thermometer needed – just your eyes and a trusty whisk!
- Melt & Combine the Base: In a medium saucepan, combine your butter and brown sugar. Place the saucepan over medium heat. Stir constantly as the butter melts and combines with the sugar. It's crucial that the butter and sugar are completely integrated, with no visible streaks of separated butter, before moving to the next step. Continue stirring gently until the mixture is fully melted and homogenous, usually about 1 minute after everything is liquid.
- Bring to a Gentle Boil: Increase the heat slightly if needed to bring the butter-sugar mixture to a rolling boil over medium heat. Once it reaches a boil, continue cooking and stirring constantly for exactly 2 minutes. This crucial step helps to deepen the caramel flavor and begin the thickening process without relying on specific temperature readings. Keep stirring to prevent scorching the sugar on the bottom of the pan.
- Introduce Milk & Vanilla: After the 2 minutes of boiling, carefully pour in the milk and vanilla extract. The mixture might bubble up briefly, so be mindful. Continue to cook, stirring frequently, for another 3 minutes. This final cooking phase allows the flavors to meld beautifully and the glaze to achieve its initial thickening. The constant stirring prevents lumps and ensures an even cook.
- Cool & Thicken to Perfection: Remove the saucepan from the heat and set it aside to cool. This is where the magic of consistency happens! As the glaze cools, it will naturally thicken. For a pourable glaze, you might want to use it while still warm. For a thicker, more opaque icing, let it cool longer.
- Troubleshooting & Desired Consistency: It's not uncommon for the mixture to look like it's separating slightly during the cooling process, especially as it thickens. Don't panic! Simply mix it vigorously with a whisk until it comes back together into a smooth, cohesive glaze. Once it reaches your desired pourable or spreadable consistency, it's ready to drizzle generously over your cooled cakes, donuts, muffins, or whatever sweet treat awaits.
Serving Suggestions & Storage Secrets for Lasting Deliciousness
Once you've mastered this rich, buttery caramel icing glaze, you'll find countless ways to incorporate it into your culinary creations. Its versatility is truly one of its greatest assets.
Elevate Every Dessert
This glaze is perfectly portioned to cover a dozen muffins, a batch of freshly fried donuts, a tray of cinnamon buns, or a standard bundt cake. But don't stop there! Think outside the box:
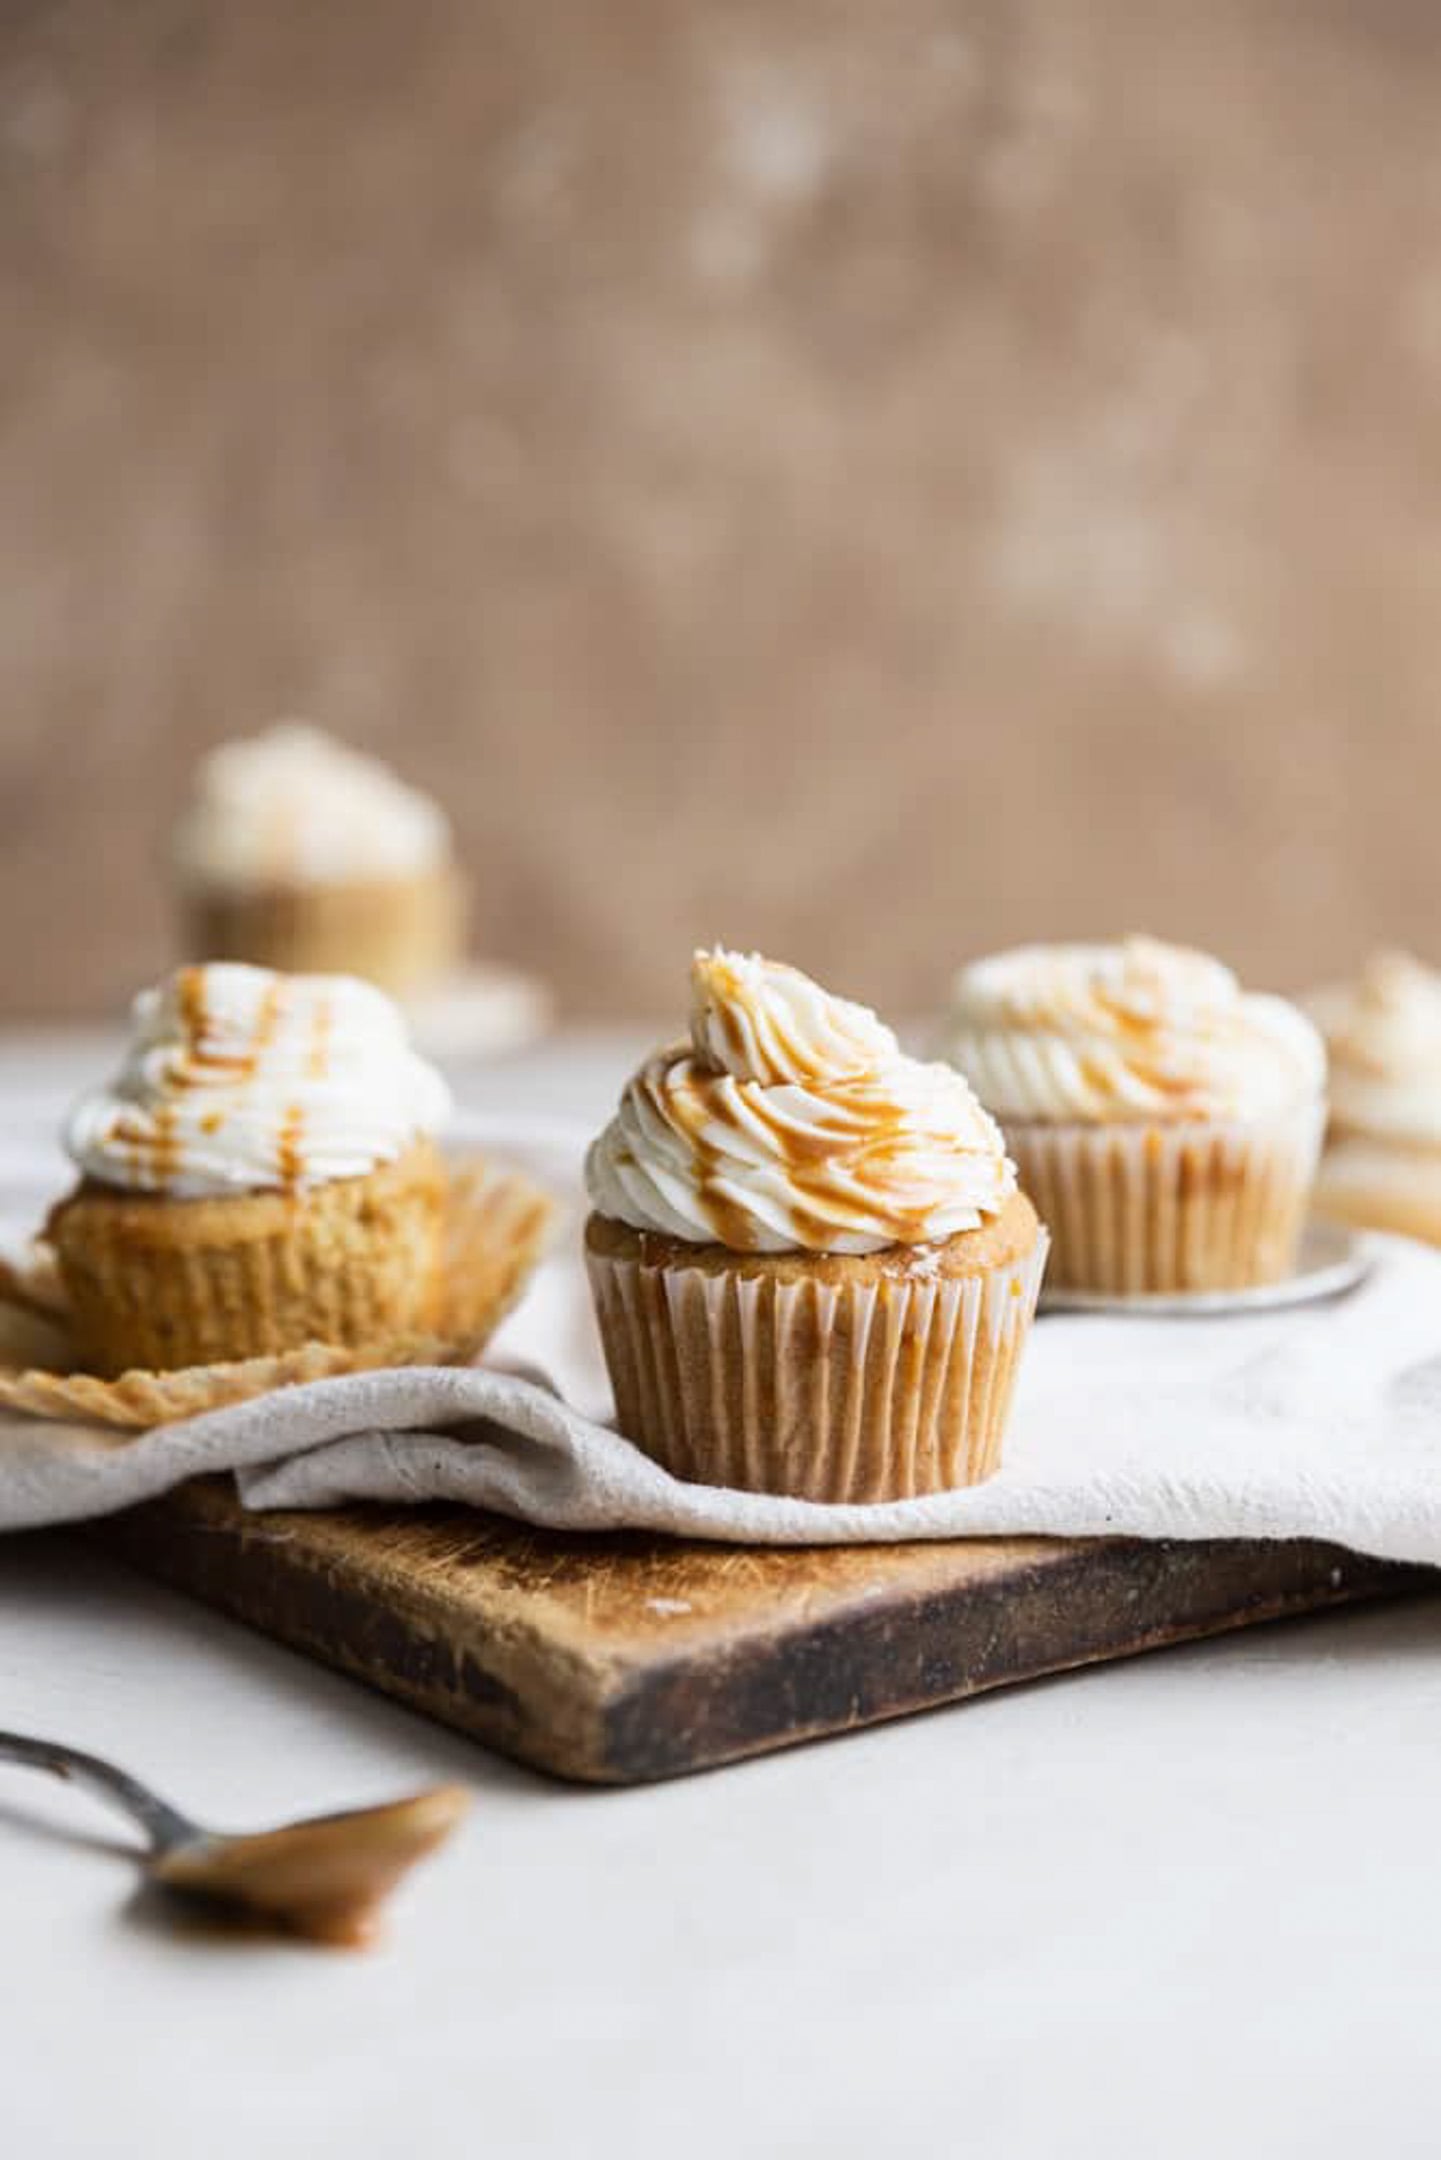
- Cakes & Cupcakes: Drizzle over vanilla, chocolate, or spice cakes for an instant upgrade.
- Pies & Tarts: A warm apple pie or pecan tart benefits immensely from a generous pour.
- Breakfast Pastries: Glaze scones, sweet rolls, or even French toast for a decadent breakfast.
- Frozen Treats: Swirl into homemade ice cream or use as a topping for sundaes.
- Savory Pairings: Believe it or not, a touch of caramel glaze can be incredible on roasted sweet potatoes!
The recipe is also incredibly easy to scale. Need more for a large gathering or multiple desserts? Simply double or triple the ingredients, maintaining the same cooking ratios and times, and you'll have an abundance of this glorious caramel on hand.
Storage Solutions for Maximum Freshness
Having leftover caramel glaze is a rare but welcome occurrence! Here's how to store it to enjoy its buttery goodness later:
- Room Temperature Storage: If you plan to use your caramel icing glaze within one to two days, an airtight container at room temperature is sufficient. Keep it in a cool, dry place away from direct sunlight. Before using, give it a good stir. If it has become too thick, a gentle warming in the microwave for 10-15 seconds or a few minutes over low heat on the stovetop (stirring constantly) will restore its smooth, pourable texture.
- Refrigerator Storage: For more extended storage, transfer the cooled caramel glaze to an airtight container and refrigerate. It will keep beautifully for up to one week. When you're ready to use it, let it come to room temperature on its own, or gently reheat it over low heat, stirring continuously, until it regains its desired consistency. Avoid high heat when reheating from the fridge, as it can cause separation.
- Freezer Storage: For the longest shelf life, this caramel glaze freezes wonderfully. Pour it into a freezer-safe, airtight container or even a heavy-duty freezer bag, removing as much air as possible. It can be stored in the freezer for up to three months. When you're ready to use it, thaw the frozen glaze in the refrigerator overnight, then gently reheat on the stovetop or in the microwave as described for refrigerated storage. A good whisk will bring it back to its original glory.
Conclusion: Your Effortless Path to Caramel Perfection
Gone are the days when homemade caramel felt like an intimidating kitchen challenge. This quick, no-thermometer caramel icing glaze recipe is your passport to infusing any dessert with the rich, buttery, and utterly irresistible flavor of true caramel. With just four simple ingredients and a few easy steps, you can create a topping that tastes gourmet yet requires minimal fuss.
Whether you're a baking novice or a seasoned pro, this recipe empowers you to elevate your sweet treats with confidence. So, gather your ingredients, follow these simple instructions, and prepare to delight your taste buds and impress your guests with the magic of homemade caramel. Happy baking!
